


Didactum Monitoring Systems
Connecting Analog Sensors
Complete guide to connecting and configuring all analog Didactum sensors – for Didactum 50T, 100T, 500T and 550T.
Didactum DC Voltage Sensor
⌄The Didactum DC Voltage Sensor is a device for measuring direct current (DC) voltage. It converts the measured values into a format compatible with the Didactum monitoring system, enabling real-time remote monitoring of DC voltage levels – e.g. in data centers, industrial automation, or renewable energy systems.
The sensor is an analog plug-and-play sensor and can be connected to any free analog port on the Didactum monitoring system.
 🔍 Enlarge
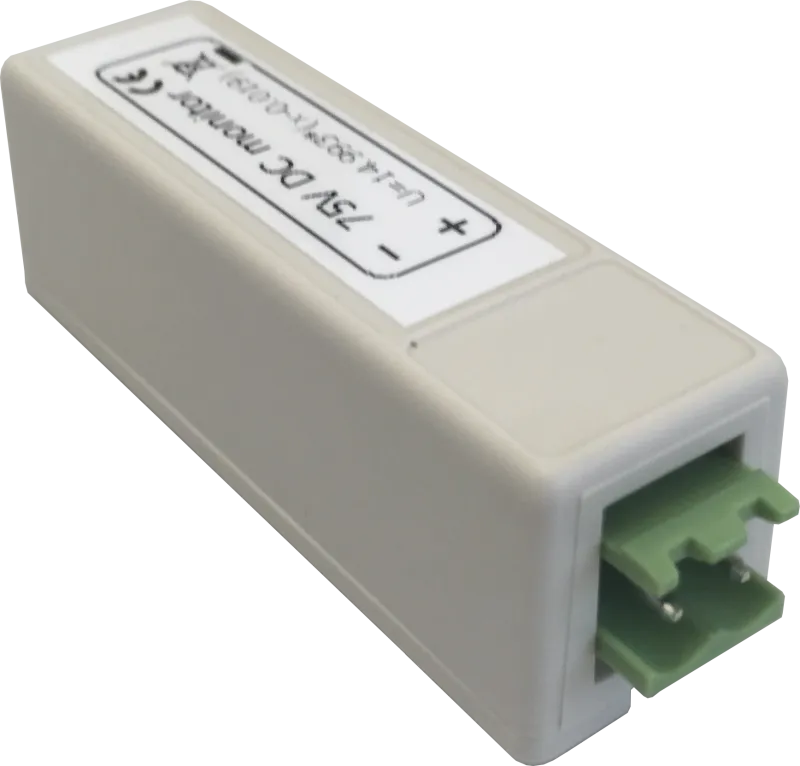
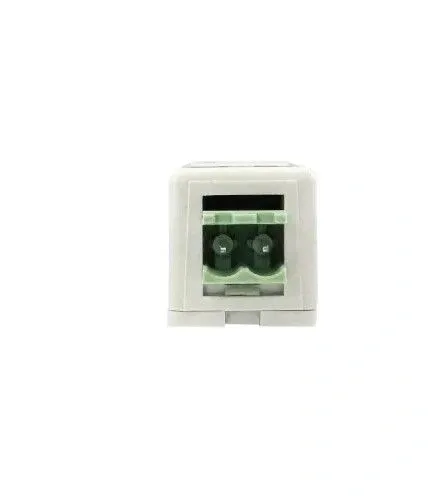
Front view of the Didactum DC Voltage Sensor with a 2-pole terminal connector (5 mm pitch) for the measured voltage input, plus an RJ12 output for connecting to the monitoring system.
 🔍 Enlarge
Ordering Options (Models)
Typical Applications
- Data centers: monitoring battery voltages in UPS systems and DC supply circuits.
- Renewable energy: measuring the output voltage of solar panels or wind generators.
- Industrial automation: monitoring DC supply voltages in control circuits.
Example 1: Measuring a Battery Voltage
Connect the battery's positive terminal to the sensor's + input and the negative terminal to the − input. Then plug the included RJ12 cable into a free analog port (A1…A8) on the Didactum monitoring system. The sensor is detected automatically.
Example 2: Measuring a 48 V DC Circuit
For measuring higher voltages (e.g. 48 V), use the DC Sensor 75V model. The connection is made the same way as in Example 1.
Didactum Temperature Sensor
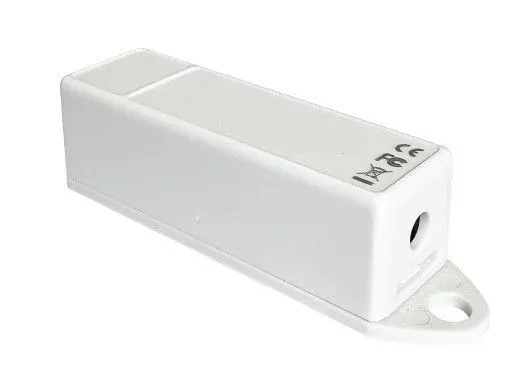
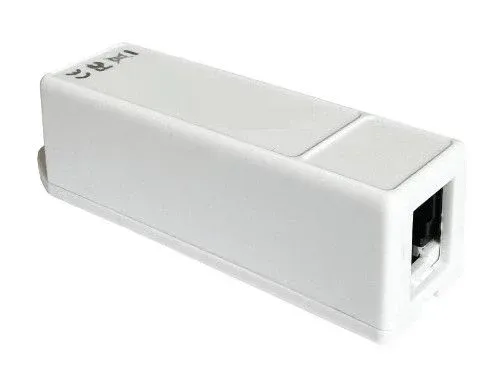
⌄The Didactum Temperature Sensor is an analog plug-and-play indoor sensor for precisely measuring ambient temperature. It can be connected to any analog port (A1…A8) on the Didactum monitoring system. Accuracy is ± 0.15 °C at room temperature; maximum cable length is 100 m.
 🔍 Enlarge
 🔍 Enlarge
Mounting
Option 1 – Screw mounting: Cut off the round base on the underside of the housing with a knife so the surface is flat. Then attach to the wall with a screw.
Option 2 – Adhesive pad or screw: Stick the sensor directly onto the surface using an included adhesive pad, or fasten it with a screw.
Option 3 – Mounting bracket: Glue the sensor to a mounting bracket, or fasten it with screws and nuts.
Connection
- Plug the included RJ11 cable into the sensor and into a free analog port (A1…A8) on the Didactum system.
- The sensor is automatically detected by the system and appears in the system tree of the web interface.
- Configure temperature alarm thresholds in the web interface.
Didactum Outdoor Temperature Sensor
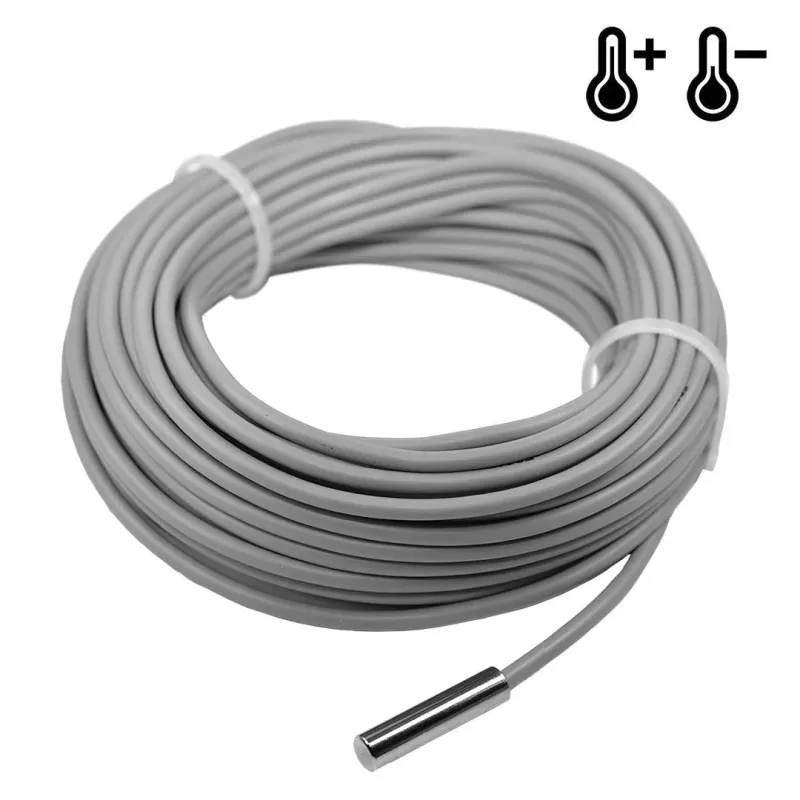
⌄The Didactum Outdoor Temperature Sensor is an analog plug-and-play sensor for measuring temperature outdoors or in cold environments. It can be connected to any analog port (A1…A8) on the Didactum monitoring system. Thanks to its extended operating temperature range of −40 °C to +105 °C, it is suitable for cold storage rooms, outdoor mounting, and harsh environments.
 🔍 Enlarge
Typical Applications
- Server rooms and data centers: monitoring ambient temperature of critical IT infrastructure.
- Industrial facilities: temperature monitoring of machinery and processes.
- HVAC systems: temperature control in air conditioning systems.
- Cold rooms and warehouses: monitoring sensitive goods such as food or pharmaceuticals.
- Laboratories: ensuring stable ambient conditions for experiments.
- Indoor and outdoor areas: universally usable for temperature monitoring.
Didactum Humidity Sensor
⌄The Didactum Humidity Sensor precisely measures relative indoor humidity in the range of 10% to 95%. It is an analog plug-and-play sensor that integrates seamlessly with Didactum monitoring systems and can be connected to any analog port (A1…A8).
 🔍 Enlarge
Connection
- Connect the included sensor cable between the humidity sensor and a free analog port (A1…A8) on the Didactum unit.
- The sensor is detected automatically. For more information, see the guide on connecting analog sensors.
Didactum AC Voltage Sensor
⌄The Didactum AC Voltage Sensor monitors AC voltage levels in real time, protecting critical infrastructure from voltage fluctuations and power outages. It measures AC voltage from 0 to 246 V and is available with interchangeable plug attachments for Europe, the USA, China, Australia, and South Africa.
The sensor is plug-and-play and can be connected to any analog port (A1…A8) on the Didactum unit.
 🔍 Enlarge
Ordering Options – Plug Types
| Model | Plug Type | For Countries/Regions |
|---|---|---|
| AC Sensor EU | Type C (CEE 7/16 Europlug) | Europe, South America, Asia |
| AC Sensor US | Type A (NEMA 1-15, 2-pole) | USA, Canada, Mexico, Japan (on request) |
| AC Sensor AU | Type I (Australian AS/NZS 3112) | Australia, New Zealand, China, Argentina (on request) |
| AC Sensor SA | Type M (15 A BS 546) | South Africa (on request) |
| AC Sensor UK | Type G (BS 1363) | United Kingdom, Ireland, Malaysia, Singapore, Arabian Peninsula (on request) |
Installation
- Plug the sensor into a free analog port (A1…A8) on the Didactum unit using the included RJ11 6P4C-to-USB cable.
- Insert the sensor into the outlet or IEC C14 output to be monitored.
- The sensor is detected automatically by the system.
Didactum Security Sensor
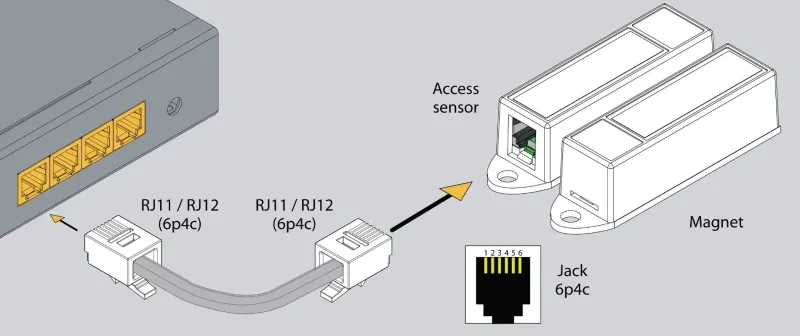
⌄The Didactum Security Sensor (access/contact sensor) monitors the status of doors and windows (open or closed). It consists of two parts: a magnet and the actual sensor. The sensor can be connected to any analog port (A1…A8) on the Didactum unit and supports daisy-chaining (up to 10 sensors in series).
 🔍 Enlarge
 🔍 Enlarge
Connection
- Plug one end of an RJ11 cable (6p4c) into the monitoring unit (analog port A1…A8) and the other end into the Didactum Security Sensor.
- The sensor appears automatically in the system tree of the web interface.
Didactum Vibration Sensor
⌄The Didactum Vibration Sensor detects and monitors shocks and vibrations on surfaces such as walls, windows, or doors. Break-in attempts (e.g. smashing window panes) are reliably detected. The sensor connects to any analog port (A1…A8) on the Didactum unit.
 🔍 Enlarge
Mounting Options
Option 1 – Screw mounting: Remove the round base on the underside with a knife so the surface is flat, then secure with a screw.
Option 2 – Adhesive pad or screw: Stick the sensor directly onto the surface with an adhesive pad, or fasten it with a screw.
Option 3 – Mounting clip: Attach the sensor to the surface using the included clip, adhesive pads, or screws and nuts.
Didactum Airflow Sensor
⌄The Didactum Airflow Sensor (air velocity meter) measures airflow velocity in the vicinity of air conditioning units, HVAC systems, fans, and ventilation systems, in the range of 0 to 3 m/s. The sensor consists of two parts and is put into operation via plug-and-play.
 🔍 Enlarge
Connection
- Plug the measuring head (RJ9 4p4c) with its 3-pin JST connector into the control unit.
- Plug the control unit into a free analog port (A1…A8) on the Didactum unit using the included RJ11/RJ12 cable.
- The sensor appears automatically in the system tree of the web interface.
Didactum Smoke Sensor
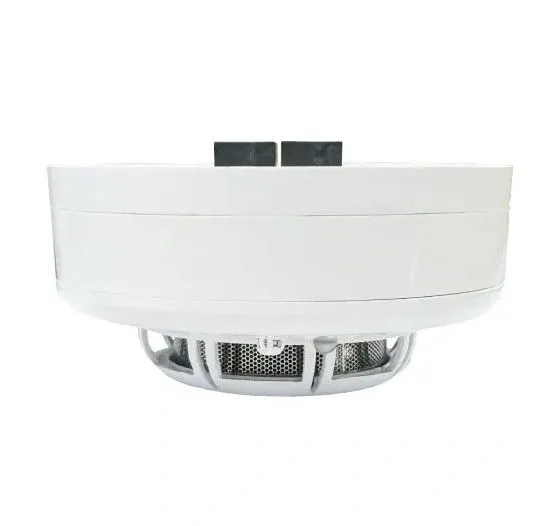
⌄The Didactum Smoke Sensor is a photoelectric smoke detector for monitoring smoke and fire indoors. It is suitable for server racks, rooms, building facilities, and other areas where fire or smoke development is possible. The sensor connects seamlessly to any analog port on the Didactum unit and can be chained (up to 10 sensors in series).
 🔍 Enlarge
 🔍 Enlarge
Safety Notes for Installation
- Observe applicable national fire protection and accident prevention regulations.
- Never install the sensor near sources of electromagnetic interference (radio frequency).
- Make sure the vent slots are always kept clear and uncovered.
- Always mount the sensor with the sensor head facing downward.
Connection and Chaining
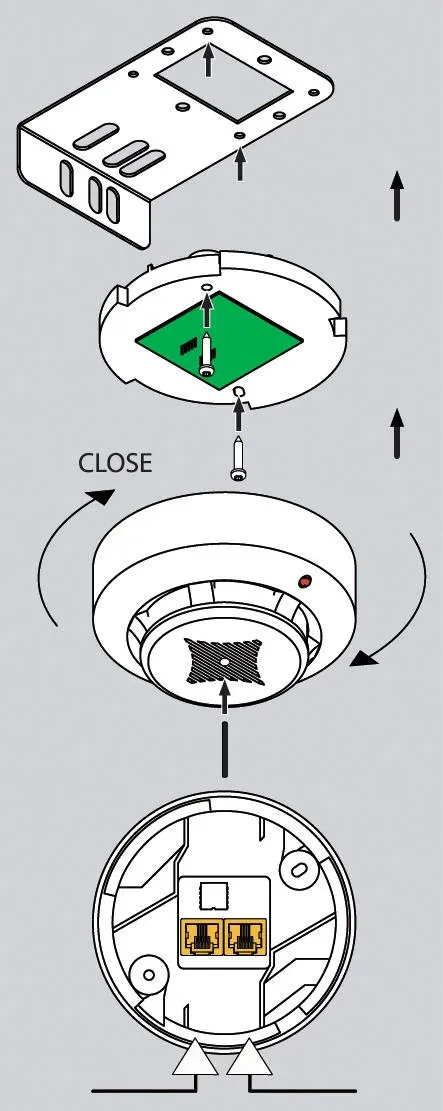
Plug one end of the RJ11/RJ12 cable into the monitoring unit and the other end into one of the two inputs of the smoke sensor. To chain up to 10 sensors in series, run another RJ11 cable from the free input of the first sensor to the next sensor. After the system starts up, the red LED blinks faintly once per second, indicating operating status.
Function Test
Insert a needle or paperclip into the test hole on the sensor cover and move it until the faintly blinking LED lights up brightly. This indicates proper operation. After the test, reset the sensor by briefly disconnecting the cable or restarting it from the smoke sensor tab in the web interface.
Didactum Motion Detector
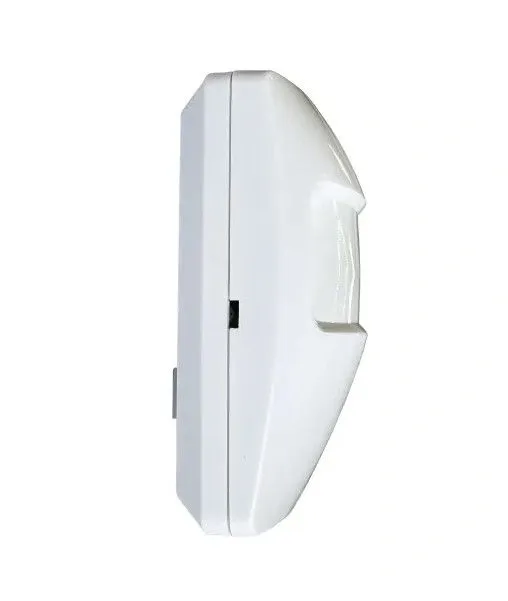
⌄The Didactum Motion Detector is a powerful sensor based on microwave radar technology (Doppler principle). It precisely detects people and objects indoors and is designed to be energy-efficient. The microwave signal penetrates materials such as plastic, glass, wooden doors, and thin walls, allowing for concealed or hard-to-reach mounting.
 🔍 Enlarge
 🔍 Enlarge
Microwave Radar vs. PIR
Installation
- Mount the wall bracket: use the included anchors and screws. Recommended mounting height: 3 m.
- Connect the sensor: connect an RJ11/RJ12 6P4C cable between the sensor and a free analog port (A1…A8) on the Didactum unit. The sensor is plug-and-play and appears automatically in the system.
- Mount the ball joint: attach the ball-joint mount to the sensor and secure it in the wall bracket. Adjust the detection angle as needed.